Support and Documentation
Remote Printing to a DYMO Printer – macOS / OS X
Configuring your DYMO printer to work with PrintNode is straightforward. Follow the instructions below and you'll be up and running quickly.
2
Open the PrintNode Client
Make sure the PrintNode Client is running. If it is not, open it from the Applications folder.
In the top-right hand corner of your screen, click on the PrintNode icon and select Open PrintNode.

3
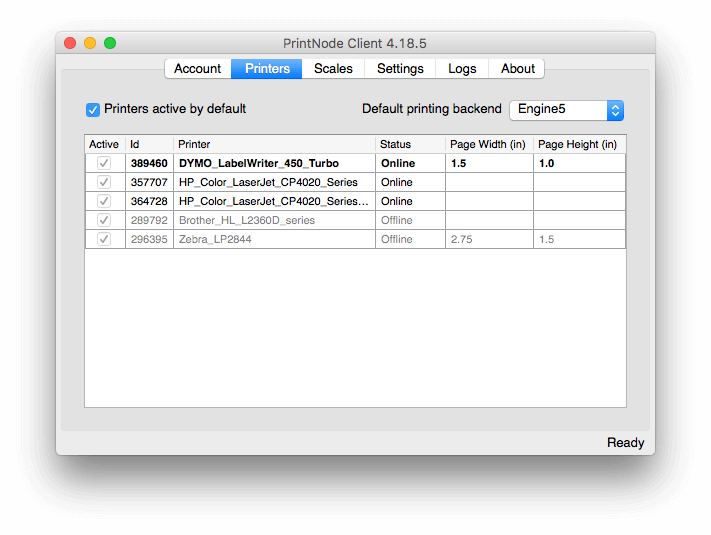
Open the Printers tab
In the PrintNode Client click on the Printers tab.
4
Enter your paper dimensions
Find your DYMO printer on the list and enter the width and height of the labels you will be printing.
If you have any trouble printing, try interchanging the width and height values. If you encounter a persistent problem, please contact PrintNode support.