Support and Documentation
Remote Printing to a DYMO Printer – Windows Vista
Configuring your DYMO printer to work with PrintNode is straightforward. Follow the instructions below and you'll be up and running quickly.
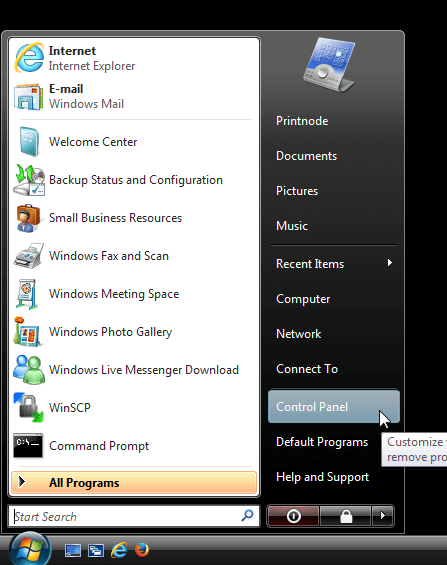
Open the Start Menu (click the Windows button in the bottom-left corner of your screen) and select Control Panel.
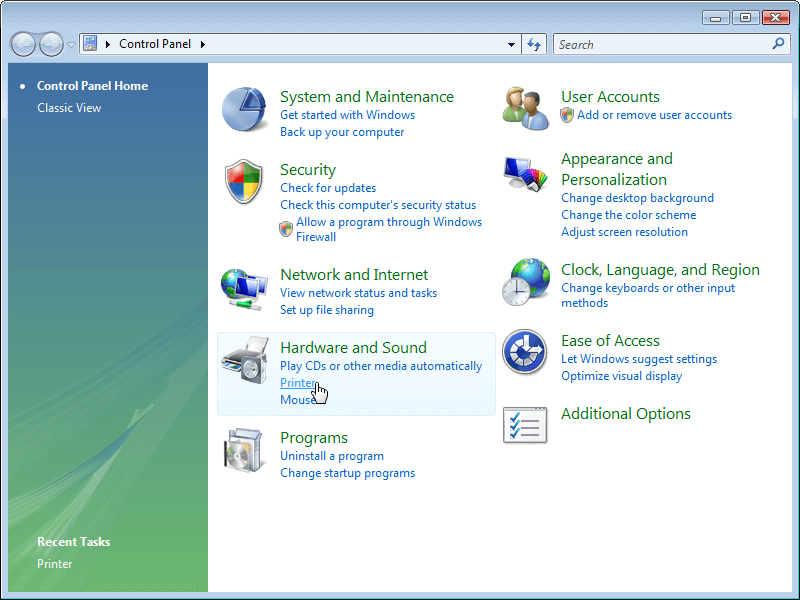
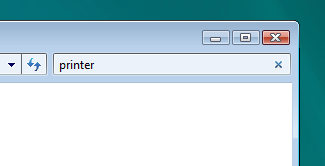
Select Printer. If you can't see this, type "printer" into the search bar and the link should appear.
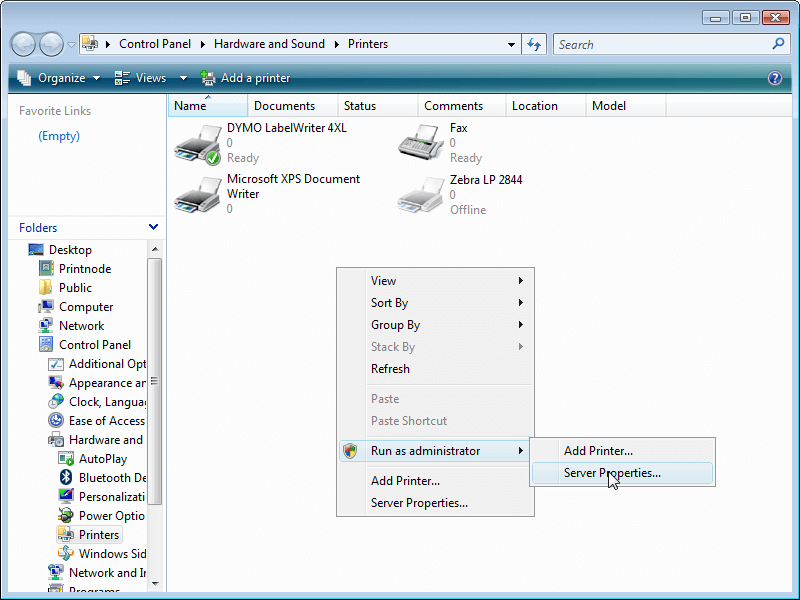
Right-click on the background of the Printers window. Go to Run as administrator and select Server Properties....
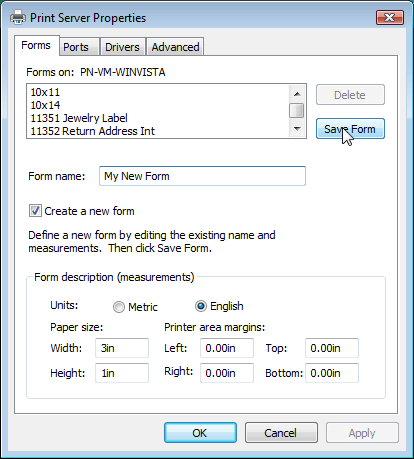
If your preferred paper size is already listed, click OK and move on to step 6. To create a new paper size, first tick the Create a new form box. Above this you may now enter a name for your paper size (this can be anything you like) and specify the dimensions at the bottom. Be sure to select the correct units.
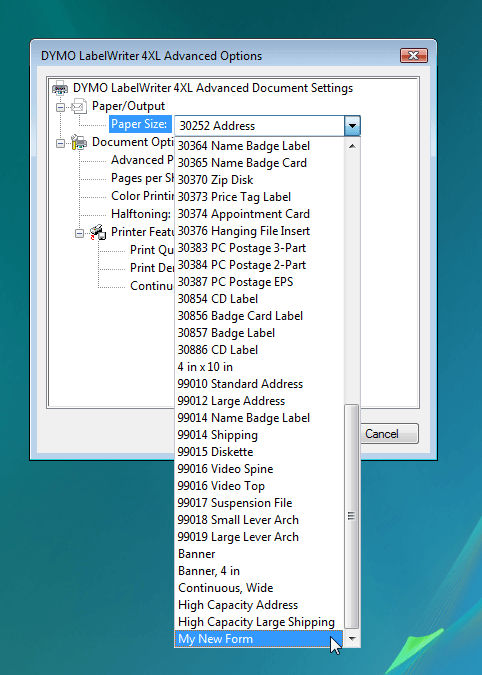
Your screen should now look similar to the picture below. Click Save Form and then OK at the bottom.
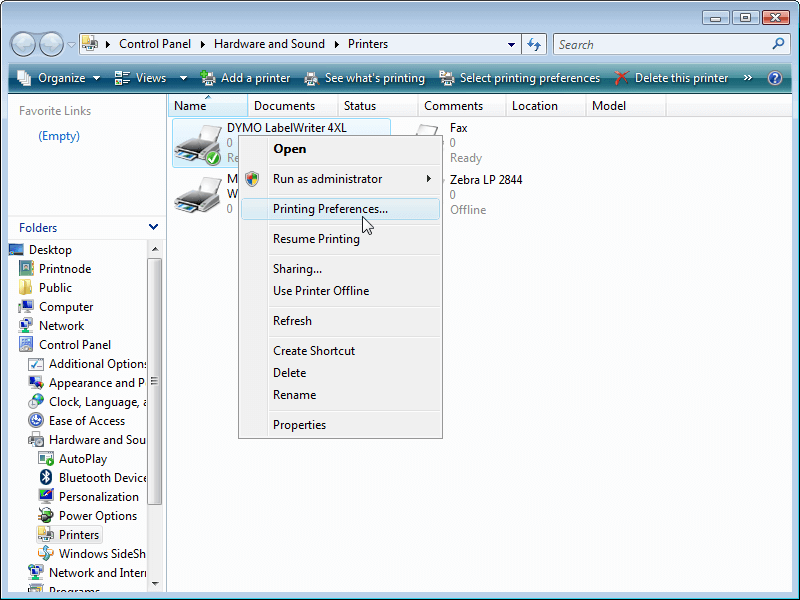
Right-click on your printer and select Printing Preferences....
If your screen does not look like the one below, you may need to install driver software for your printer. You can obtain drivers from the DYMO website.
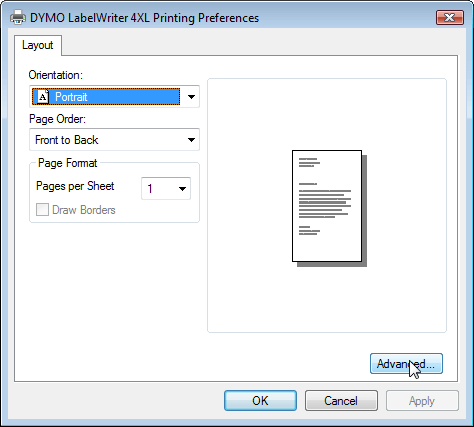
Under Paper/Output, the Paper Size drop-down menu should now include your custom paper size. Select this and click OK.
Your printer should now be set up to work with PrintNode. You may close any windows you have finished working with. If you have any trouble printing, try interchanging the width and height values. If you encounter a persistent problem, please contact PrintNode support.